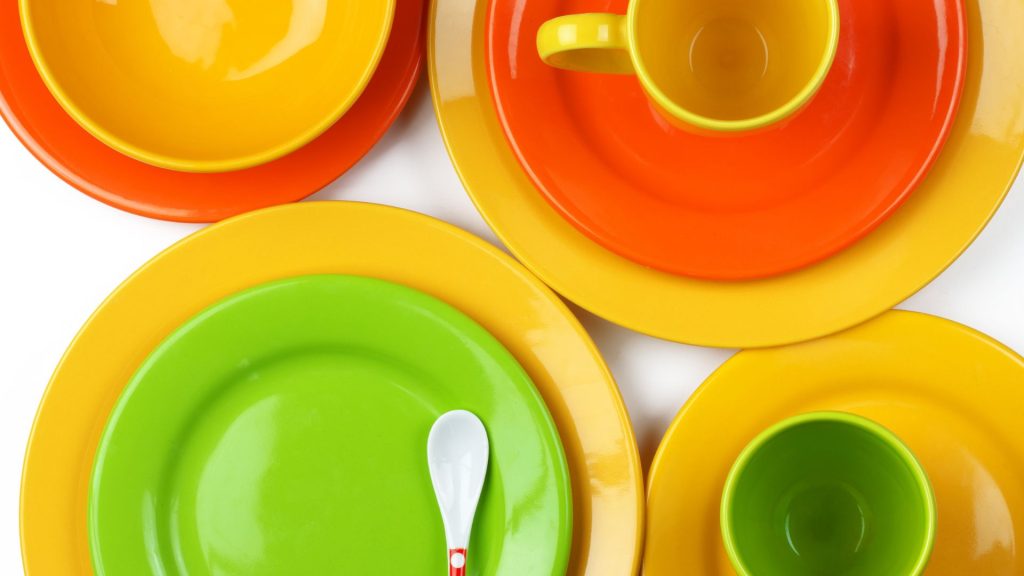
When moving, some of the most fragile and anxiety-inducing items to pack are your plates and glasses. Dishes and glassware can easily chip or shatter if not packed properly. The good news is, by using the right materials and techniques, you can significantly reduce the risk of breakage. This guide will walk you through step-by-step on how to pack plates, glasses, and other delicate kitchenware for a move. With a little patience and plenty of padding, you’ll arrive at your new home with your dinnerware intact and ready to use.
Gather Sturdy Boxes and Packing Supplies
Start by collecting strong, medium-sized boxes. Avoid large boxes for dishes, they get too heavy and risk the bottom falling out. Dish packs or boxes specifically for dishes are ideal (they’re double-walled for strength). Also gather packing paper (or unprinted newsprint), bubble wrap, and tape. You’ll need lots of paper, more than you think, as cushioning. Dish barrel boxes (double-thickness cardboard) are great for extra protection if you have them. Additionally, have towels or soft cloths handy to fill gaps, and a marker to label boxes “Fragile, This Side Up.” Having everything ready at your packing station will make the process smoother.
Prepare Boxes with Cushioning
Before putting any plates or glasses in, prepare the box. Reinforce the bottom with extra tape (consider a couple of strips across the seam). Then create a soft cushion: crumple packing paper or use a layer of bubble wrap to line the bottom of the box. Aim for at least 2-3 inches of padding on the bottom to absorb shock. For dish boxes, they sometimes come with cell dividers; assemble those if using, as they keep items separated. If you don’t have dividers, it’s fine, you’ll just rely on wrapping and layering carefully. The key is a well-padded base so that the first layer of plates or glasses isn’t directly against the box bottom.
Wrap Plates Individually in Packing Paper
Take your first plate and place it on a stack of packing paper. Wrap the plate completely: pull one corner of the paper over the plate, then the next corner, until it’s fully encased. You can use 2-3 sheets per plate for extra padding. For smaller plates, one sheet might suffice if thick, but more is better. According to Martha Stewart’s guidelines, “place the plate in the center of a piece of packing paper; pull the corners over to securely wrap it”. Repeat for 3-4 plates of the same size.
Once you have a stack of 3-4 individually wrapped plates, you can add an extra layer: flip the bundle upside down onto another sheet and wrap the entire bundle together, then tape it shut. This creates a nice plate packet. Wrapping plates individually prevents them from clanking directly against each other.
Pack Plates Vertically, Not Flat
This is a crucial tip: place plates in the box on their edge, vertically (like records), not flat in a pile. Plates are sturdier on edge and less likely to break from pressure. In the box, stand the wrapped plate bundles vertically in a row, like files. Make sure the first plate is cushioned by the box wall, you can line the side of the box with a sheet of bubble wrap or extra paper for padding. Continue placing plates until you have a row; then start another row if there’s space, separated by bunched paper. As Martha Stewart notes, “dishes are more likely to break when packed flat,” so vertical is safer. Fill any remaining gaps between rows or at the sides with crumpled paper so plates can’t shift.
Cushion Above and Between Plate Bundles
Once your plates are in, fill all spaces with padding. Tuck crumpled paper between each plate bundle and the next, and between plates and the box walls. The goal is zero movement in the box when you shake it gently. After one layer of plates, add a thick layer of crumpled paper on top before starting a second layer (if the box is tall enough). Typically, a medium box might only fit one layer of dinner plates; you could do smaller salad plates on top of them if space. If stacking a second layer, consider placing a cardboard sheet or cut piece of box as a buffer on top of the first layer, then add padding and then the next plates. Always finish with a top layer of padding, stuffed paper all the way to the lid. When you close the box, you shouldn’t hear or feel plates shifting.
Wrap Glasses Individually (Stuff and Roll)
Glasses and stemware require careful wrapping. First, stuff the interior of each glass with crumpled packing paper. This helps support the sides. For stemmed glasses, wrap paper around the stem as well. Then take a sheet (or two for delicate wine glasses) and roll the glass up in it diagonally, tucking in excess as you go. “Gently stuff cups and glasses with wadded-up paper and then wrap each entire piece individually,” instructs Martha Stewart. Ensure no part of the glass is exposed. Use tape to secure the wrapping if needed (though usually twisting the ends is enough). If you have many small identical glasses, you can also wrap them individually then bundle a few together in another layer of paper, but bundling is riskier with fragile shapes, so only if they’re sturdy tumblers perhaps.
Use Dividers for Glasses if Available
If you have dish pack boxes with cardboard dividers/cells, assemble and use them for glasses. These keep glasses from hitting each other and are sized so you can have layers (like a grid). Place each wrapped glass in its own cell. Still add crushed paper in each cell’s bottom for cushion, and around each glass if the cell is larger than the glass. If no dividers, you can create makeshift ones by standing glasses in rows with ample paper between. Place heavier glasses (like thick bar tumblers) at the bottom of the box and lighter, more delicate ones (like wine glasses or fine china teacups) towards the top for less weight on them. Always pack glasses upright, never lay them on their side in the box, as the pressure can crack them.
Layer Glasses, Heavy on Bottom, Light on Top
In a box, you can often fit two or three layers of glassware. Start with heaviest, sturdiest items at the bottom (mugs, short glasses) and delicate ones up top. For example, you might put coffee mugs (well-wrapped) on the bottom layer, then juice glasses above, then fine stemware at the very top. Between layers, pad with a thick nest of crumpled paper or a piece of cardboard plus paper. Martha Stewart’s guide suggests you can carefully stack within a box if uniform, but always “fill all vacant space with crumpled paper between each glass” and around them. So, after loading one layer of glasses, add a buffer (paper or bubble wrap), then next layer. Pack glasses upright as if they’re sitting on a shelf, not sideways (stemware should stand as if on a table). This orientation plus interior stuffing helps them resist pressure.
Tape and Label the Box Clearly
Once the box is full of a nice cushion on top, close the flaps and tape the box shut on all seams. Label it boldly: write “Fragile. Plates and glasses. This side up.” on multiple sides and the top. Mark which side should face up so movers don’t inadvertently put it sideways. You can also write “Kitchen. Fragile.” to ensure it ends up in the right room at your new place. Additionally, if you have especially delicate or expensive items in there, you might put a note like “Fragile, fine crystal” so handlers know to treat with extra care. Proper labeling can reduce the chances of the box getting crushed under heavier boxes (since ideally movers will stack it on top).
Consider Double Boxing Extra Fragile Stemware
For extremely fragile items like crystal wine glasses or heirloom china plates, you might want to double box them. This means packing them in a smaller inner box first, padding it well all around, then placing that box inside a larger box also padded on all sides. Martha Stewart references this for “especially fragile stemware”. For example, pack 4 wine glasses in a small box with plenty of paper, then put that box into a larger box that you’ve lined with bubble wrap on all sides. Fill remaining gaps with paper. Double boxing provides an extra layer of shock absorption (much like how electronics are sometimes double boxed). It adds some bulk, but if those champagne flutes are precious, it’s worth the extra effort.
Don’t Overpack and Mind the Weight
One common mistake is to make a box of dishes too heavy. Keep weight manageable, each box should ideally stay under ~40-45 lbs (about 20 kg) to avoid dropping or box failure. If a dish box is getting too heavy with just half of your plates, split into two boxes. It’s better to use more boxes than to risk one enormous, heavy one. Movers and your back will thank you. Also, when carrying, hold the box from the bottom. If you feel any give, set it down and retape or lighten the load. Plates especially are dense; you might only get 8-10 dinner plates in a box before it’s weighty, and that’s fine. Use smaller boxes for heavy kitchenware in general.
Fill Any Void Spaces in Box before Sealing
Before sealing a dish pack, fill every void with padding. Lightly shake the box, do you hear or feel anything shifting? If yes, open and add more paper until everything is snug. Plates vertically packed might leave a corner of the box empty, stuff that with a paper bundle or even a dish towel. For a glasses box with uneven items, you may have gaps at the top, perfect spot to add a towel or crumpled paper mound. The top of the box should press slightly against the padding when closed, meaning there’s gentle pressure holding things in place. Movers often note that tightly packed (but not overstuffed) boxes survive moves better than half-empty ones. Just be careful not to jam things such that pressure itself causes breakage, there’s a balance.
Pack Wine Bottles and Stemware Carefully (if relevant)
If your “glasses” include wine bottles or other liquids, those require special care too. Use partitioned wine shipping boxes if possible. If packing in regular boxes, wrap bottles in bubble wrap and pack upright, not flat, with plenty of padding between them. Label them “Fragile, Liquids”. For stemware, as mentioned, consider double boxing. Also “consider using dish packs or cell boxes for cups and glasses”. If you have a set of fine china teacups, each should be wrapped, stuffed, and possibly boxed within a box. And remember, for any liquids, secure the cap or cork (some tape around it) to prevent leaks.
Keep Dish Boxes Stacked Upright During Move
Communicate with your movers or friends helping that these boxes must stay upright (not on their side) and shouldn’t have heavy boxes on top. Because you labeled “This Side Up”, that helps. Load dish boxes on top of heavier furniture or on the truck last so they’re not at the bottom of a pile. Also, for your own driving, if you’re moving them in a car, don’t jostle them too much (drive carefully over bumps). Essentially, treat them as you would eggs, a bit of extra caution in handling goes a long way. At the unload, place them in the kitchen out of traffic paths so they won’t get accidentally kicked or knocked over as other items come in.
Unpack Fragiles First (Check for Damage)
At your new home, plan to unpack fragile kitchenware early. That way, you remove the risk of boxes getting banged around amid furniture shuffle. Plus, you’ll want to confirm if everything made it safely. Unpack over a soft surface (like over a rug or with the box on a countertop) so if something slips, it has a cushioned landing. Carefully remove paper and unbundle, it’s a bit like opening presents, albeit ones you packed yourself. Inspect each piece as you go. If you did a great packing job, all should be fine! Wash the dishes if they picked up any paper fiber or dust, then you can relax and enjoy a meal with your intact plates and glasses in your new place.
Packing plates and glasses for moving isn’t difficult, it just takes time and plenty of padding. By wrapping items individually, using vertical placement and lots of cushioning, you greatly reduce the chance of chips or breaks. Follow the steps above and you’ll find that upon unpacking, your dishware is just as you packed it, ready to fill your cabinets and serve you in your new home. Safe packing and happy moving!