Renovating your home can be one of the most exciting and chaotic projects you’ll ever take on. Dust, decisions, delays, and logistics can turn your dream into a nightmare if you don’t plan carefully. But with the right strategies, you can stay on track, within budget, and avoid many of the pitfalls that trap DIY’ers.
This guide is packed with practical renovation tips and hints to help you through every stage of the process. We’ll also show how LockIt Local’s super-local storage solutions can simplify the journey.
1. Start With a Clear Vision and Phased Plan
Define Your “Why” and Goals
Before diving in, clarify what you want. Are you looking for more space, better flow, improved energy efficiency, or increased resale value? When your goals are clear, decisions about materials, layouts, and fixtures become much easier.
Break It Into Phases
Don’t try to renovate everything at once. Prioritise high-impact zones like kitchens and bathrooms, then move to cosmetic upgrades later. This phased approach helps manage cost, disruption, and stress.
Create a Budget and Buffer
Always build in a 10-20% contingency for surprises like hidden damp, structural issues, or delivery delays. Track your spending across categories like labour, materials, fixtures, and permits so you stay in control.
2. Research, Permits, and Regulations
- Check local planning and building regulations before structural changes or adding features like windows and doors.
- Get at least three quotes from qualified contractors.
- Verify credentials, references, and previous work.
- Use written contracts that outline scope, timelines, and payment terms.
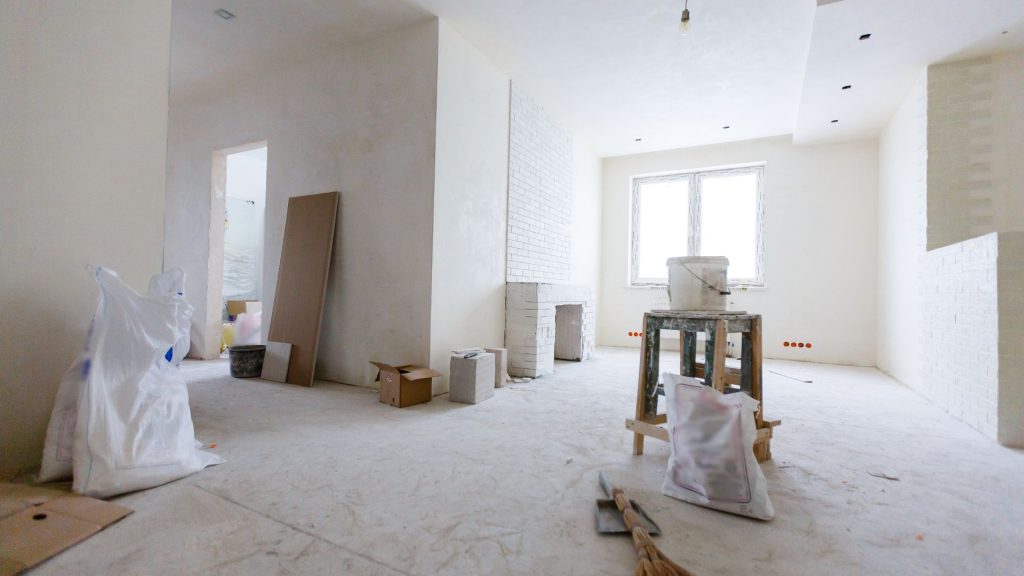
3. Prepare for Disruption with Smart Storage
Renovations can completely disrupt your daily routine. Minimise stress by clearing out the areas where work will happen.
- Remove furniture, decor, and breakables.
- Use stackable boxes and labelled containers.
- Consider using LockIt Local’s nearby smart storage to store furniture, valuables, or off-season items. Keeping your belongings off-site but accessible makes life easier for both you and your tradespeople.
4. Protect and Preserve What’s Staying
- Weatherproof and seal any open areas.
- Cover floors, stairs, and surfaces with dust sheets or builder’s plastic.
- Label rooms to control dust and traffic.
- Check plumbing, wiring, and roof conditions before closing up any walls.
5. Choose Smart Materials
- Use standard-sized tiles, cabinetry, and fittings to cut waste and costs.
- Opt for durable, low-maintenance finishes in high-traffic areas.
- Consider sustainable materials like recycled glass, low-VOC paints, and reclaimed wood.
- Keep spare materials like tiles and paint for future repairs.
6. Efficient Scheduling
- Follow a logical order: structure, plumbing and electrics, insulation, interior finishes, then fixtures.
- Overlap tasks where possible, like running plumbing while walls are curing.
- Plan for drying times and delivery windows.
- End each day with a quick tidy-up to maintain safety and momentum.
7. Know When to Splurge or Save
- Spend on items you interact with daily: taps, appliances, lighting.
- Save on hidden or non-critical elements like internal wiring or insulation.
- Consider longevity: investing in higher-quality flooring now might prevent future replacements.
8. Layout, Lighting, and Flow
- Add more natural light by reconfiguring walls or using glass panels.
- Use layered lighting including task, ambient, and accent options.
- Keep circulation routes wide and free of bottlenecks.
- Use mirrors, open shelving, and light colours to make spaces feel larger.
9. Inspect Before You Close Things Up
- Test plumbing, electrics, and fixtures before plastering or closing ceilings.
- Use inspection cameras to check hard-to-reach areas.
- Walk through the site with your contractor and approve each stage before moving on.
10. Final Touches and Handover
- Create a snag list of unfinished or imperfect areas and ensure they are fixed.
- Schedule a deep clean once all work is finished.
- Complete any outdoor or landscaping work last to avoid mess.
- Document your final work with photos and receipts for future resale or insurance.
11. Long-Term Maintenance
- Save warranties, paint codes, receipts, and contacts in one place.
- Set reminders for seasonal checks: sealants, gutters, paint touch-ups.
- Store leftover materials or tools in your LockIt Local unit to keep your home tidy.
Closing Thoughts
A successful renovation comes down to solid planning, clear communication, smart budgeting, and keeping your space as organised as possible. Treat your LockIt Local unit as a helpful extension of your home, a place to store, stage, or safeguard your things during the chaos.