Make your unit a tidy, efficient extension of your home, not a buried treasure hunt.
Renting a storage unit is only half the job. The real challenge? Keeping it organised so you can find, access, and protect your things without dread. A messy, poorly packed unit wastes time, space, and causes frustration.
Below is a step-by-step guide to turning your storage unit into a system you’ll actually love to use. And yes, Lockit Local’s storage app features are built to make this easier.
1. Plan Before You Pack, the Blueprint
a) Inventory & categorise
Start by listing everything you intend to store. Group items by category: seasonal clothing, furniture, documents, sports equipment, keepsakes. Many storage guides emphasise this as the foundation of organisation.
An app or spreadsheet helps, especially when tied into your unit’s item management tool. Tag items to categories (e.g. “Winter coats,” “Christmas decor,” “Camping gear”).
b) Prioritise access
Decide what you’ll need to access often (tools, seasonal wardrobe, holiday decorations) vs what can stay long-term. Frequently accessed items should be placed near the front or along the “aisle” you’ll leave for walking access.
c) Map your layout
Sketch a rough “floor plan” for how you’ll place big items (furniture, appliances) and pathways. Treat walls and corners as “floor anchors,” then build outward.
2. Use Uniform, Quality Containers & Smart Labelling
a) Choose good boxes / bins
Use strong, stackable boxes of uniform size where possible. That consistency allows cleaner stacking and safer load distribution. Transparent plastic bins are great, or good quality cardboard boxes with reinforced bottoms.
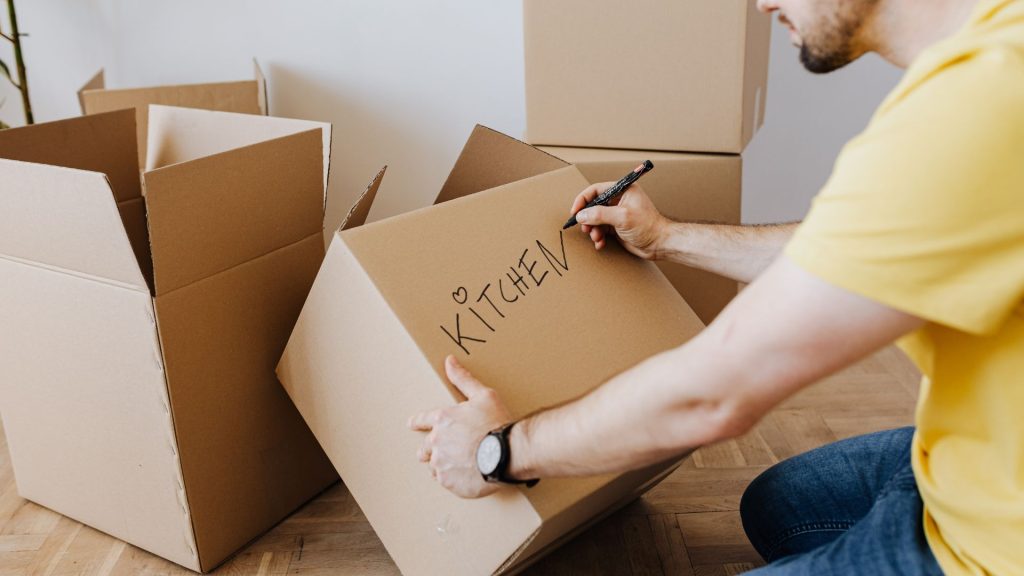
b) Label with clarity
Label every box on at least two sides and the top. Use clear, waterproof labels. Be specific: instead of “misc,” use “Bedroom, throw pillows & linen.”
Colour-coded stickers are a brilliant feature: pick a colour per category (e.g. blue for kitchen items, green for sports gear). Match that to your item management app so scanning or clicking reveals what’s inside.
3. Pack with Purpose & Order
a) Big / heavy items first
Place furniture, appliances, and bulkier items against the back or sides, flat or disassembled if possible. Then build upward.
b) Stack smart
Put heavy boxes low, lighter ones above. Use shelving if possible to reduce risk of crushing lower boxes.
Leave a small gap between stacks and the wall so air circulates and you’re not compressing items directly against surfaces.
c) Walkway / aisle
Leave a central path so you can reach boxes without dismantling everything. Aisles ensure you can retrieve items efficiently.
d) Use vertical space
Stack all the way up, but safely, no overhanging or unstable tower. Use the height of the unit (ceiling to floor).
e) Combine items and multi-use packing
Don’t leave odd-shaped gaps, fill them with soft items (pillows, cushions). Use wardrobe boxes, hangers for clothes. Use furniture drawers for storage. Be creative in using pieces you already have.
4. Maintain & Adjust Over Time
a) Visit & reorganise periodically
Set a schedule (every 3–6 months) to re-check your layout, inventory, and discard items you no longer need. Declutter your unit by re-evaluating content.
b) Update your inventory
Whenever you add or remove items, update your app or spreadsheet immediately. Don’t let the list get stale.
c) Use the “front line” principle
If you add new boxes, put them behind your front line, not in front of your important items. That keeps frequently used things accessible.
d) Beware of stacking creep
Don’t stack new items haphazardly, always stack within your framework and maintain safety. Avoid blocking the aisle.
5. Protect & Preserve Your Belongings
a) Wrap & cover
Use dust covers, sheets, blankets, or bubble wrap for furniture and delicate items.
b) Elevate from floor
Place pallets or wood slats under boxes to protect against dampness or flooding. Avoid direct contact with the floor.
c) Climate / humidity awareness
If items are sensitive (books, photos, electronics), choose a climate-controlled or insulated unit.
d) Avoid prohibited items
Never store flammable liquids, perishable goods, or hazardous chemicals. Many UK facilities prohibit these.
6. Use Lockit Local’s Features to Simplify Organisation
You’re not doing this alone. We provide features to help:
- Colour-coded stickers that match app categories: When you label a box blue, red, or green, it syncs to your category in the app.
- On-demand shelving: Don’t want to build or bring your own? Order shelves that we’ll install in your unit (or deliver) so you can stack safely.
- App-based item management tools: Tag, photograph, and map each stored item in your unit. Want “Camping Gear #5”? Tap it and see which box / shelf it is.
- Unit planning assistance: If you’re renting a new unit, we can simulate your layout based on what you’re storing, to make future organisation easier.
These features aren’t just bells and whistles, they reduce friction, streamline retrieval, and lower the “cost” of staying tidy.
7. Common Mistakes & How to Avoid Them
| Mistake | Why It’s Problematic | How to Avoid It |
| No walkway / blocking paths | You’ll have to unpack to reach things | Always leave central aisle |
| Random box sizes | Inefficient stacking, wasted space | Use uniform boxes |
| Weak lower boxes | Boxes collapse, damaging contents | Use strong materials, heavier items at bottom |
| Poor labelling | You lose time digging | Be specific; label multiple sides |
| Expecting no rearrangement | Units change over time | Plan periodic reorganisation |
| Trying to use every inch | You lose access | Leave air gaps and space for adjustments |
| Storing damp / unclean items | Mold, mildew, damage | Clean & dry everything before storing |
| Ignoring prohibited items policy | Facility may remove or fine | Read your facility’s list carefully |
8. Walkthrough: From Empty Unit to Organised Masterpiece
Here’s a rapid checklist you can follow:
- Empty / clear: Clean the space, sweep floor.
- Sketch layout: Mark back wall, side walls, aisle path.
- Bring in big pieces: Place furniture / large items first, against rear / walls.
- Install shelving / structural aids
- Place boxes category by category: Kitchen, textiles, sports, etc.
- Stack with weight order
- Label and log
- Insert walkway / aisle
- Take photos of layout (useful for reference)
- Close, revisit, iterate
Why Organised Storage Matters
- Saves time and stress: No more digging.
- Maximises your rented space: You pay for what you use.
- Protects your goods: Reduces damage and misplacement.
- Keeps scaling simple: If you need to expand or move, you already have a system.
- Gives peace of mind: Your stuff is safe, not a looming chore.
Organising your storage unit is part art, part strategy. It’s about respecting your future self, giving yourself the gift of finding what you need without tearing the place apart.
If you ever feel your unit has drifted into chaos, use your app, revisit your layout, and tighten up the system. And remember: your Lockit Local storage unit is more than a box you rent. With labelling, app integration, and optional shelving, it’s designed to be a reliable, intuitive extension of your home, not a headache you ignore.